


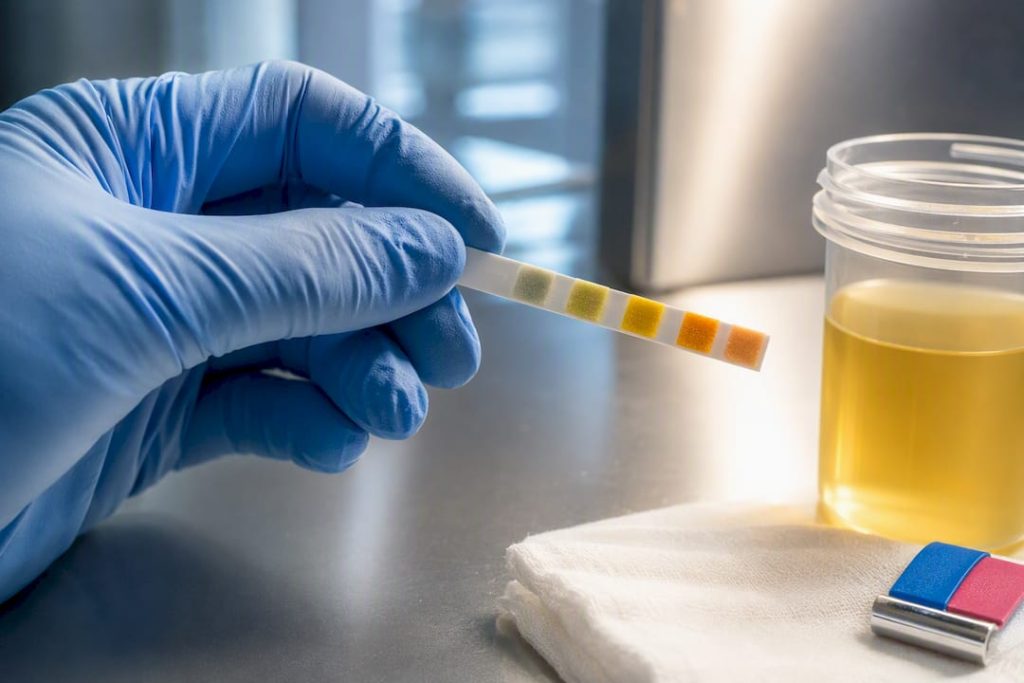
The accepted urine temperature range for a drug test is 90°F to 100°F (32°C to 38°C), and collectors read the built-in strip within minutes of collection. Your best move is a fresh, on-site sample handed over immediately. If you’re transporting a sample, keep the sealed container against your body in an insulated sleeve and check it with a temperature strip before handoff. Skip the gadgets that overheat or look suspicious.
TL;DR:
- Providing a fresh sample on-site and handing it off immediately maximizes the chances of staying within the 90°F to 100°F range without extra effort.
- Body contact with the sealed container, especially against the inner thigh or waistband, consistently keeps urine temperature near the ideal range during unavoidable delays.
- Chemical hand warmers and electric warmers require careful timing and placement to avoid overheating and exceeding 100°F, which raises suspicion.
- Microwaving creates uneven heat and rapidly cools, making it an unreliable method compared to insulation and body heat for maintaining proper temperature.
- Monitoring temperature with the built-in strip or a digital thermometer before handoff is crucial, with the aim to reach 96°F to 98°F just before collection to account for minor drift.
Table of Contents
- How Do You Keep Urine Warm for a Drug Test?
- What’s the Physics Behind Each Warming Method?
- How Do You Monitor Urine Temperature Accurately?
- What Warming Mistakes Get Samples Flagged?
- How Should You Prepare Hours Before a Urine Test?
- Where Does Passusa Fit Into This Process?
- What Actually Matters Most Here
- Ultra Pure Synthetic Urine Kit: Which One Fits Your Situation?
- Where to Learn More About Specimen Collection Rules
- Sources
- FAQ
How Do You Keep Urine Warm for a Drug Test?
The fastest path to a valid reading is the one collectors see least often: a specimen produced right there, checked immediately, handed over within seconds. That’s not always possible. Random screenings, mobile collectors, and at-home test kits sometimes force you to hold or move a sample before it’s read. When that happens, the order of operations below gets you closest to the 90°F to 100°F target without triggering a second look.
The priority order that actually works
- Provide a fresh sample on-site whenever you can. A urine sample fresh from the body sits close to 98.6°F already, which puts you comfortably inside range with zero extra effort.
- Hand it off immediately. Every minute a sample sits uncovered costs you a degree or more, especially in a cool bathroom or exam room.
- If you must hold it, use body contact. Tuck the sealed container against skin, ideally the inner thigh or waistband area, where blood flow keeps a steady, even heat.
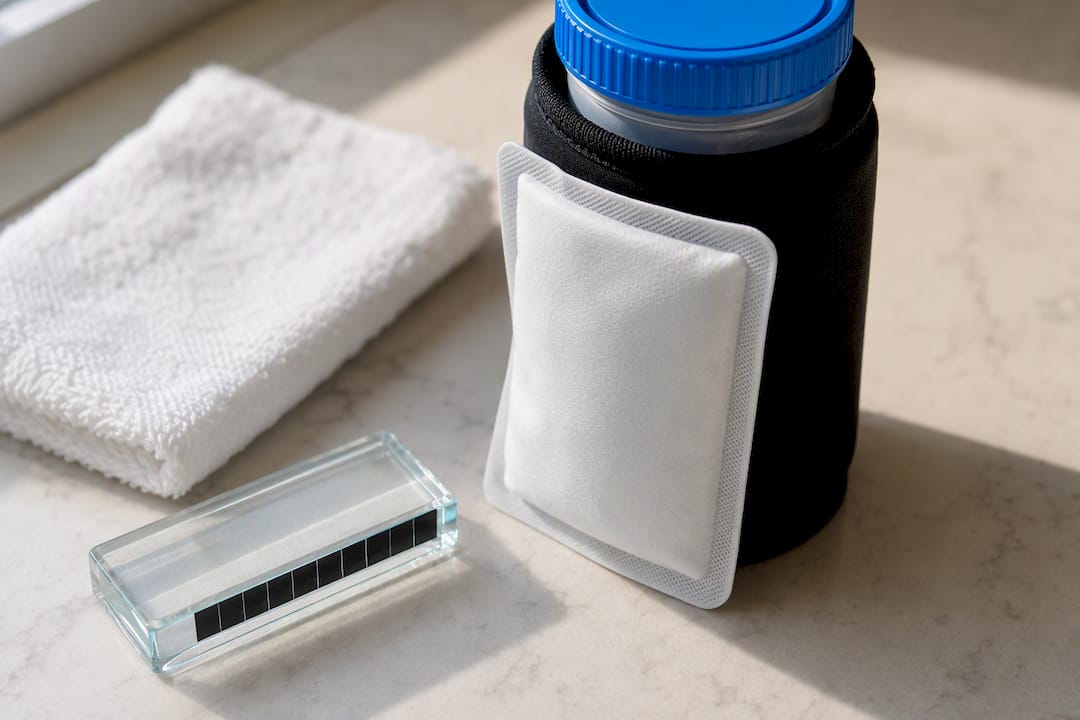
- Wrap the container to trap that heat. A thin layer of cloth or a neoprene sleeve between the container and clothing slows heat loss without smothering the warmth already there.
- Use a single-use air-activated heat pad only as backup, and only if you’ve tested its curve beforehand. These pads run hotter than skin and can push a sample past 100°F if left in contact too long.
- Check the temperature 5 to 10 minutes before you expect to hand it over. This buffer gives you time to adjust, cooling it briefly in open air or adding another minute of body contact.
- Aim for 96°F to 98°F at the moment of handoff, not the extremes of the range. Collectors read strips within about four minutes of receiving the specimen, and a sample sitting at 90°F or 100°F leaves you no room for the normal drift that happens in transit.
Here’s what tends to separate a smooth handoff from a flagged one:
- Body heat alone, sustained for 15 to 20 minutes, is usually enough to bring a slightly cool sample back into range.
- Chemical hand warmers or heat pads need dosage discipline. One small pad taped to the outside of the container, not inside a bag pressed directly against skin, avoids scorching.
- A short car ride calls for pre-warming the empty container in your pocket before you fill it, then wrapping it immediately after.
- Insulated lunch bags or thermoses beat plastic zip bags every time because they resist both heat loss and rapid temperature swings.
- Skip the microwave entirely. It creates hot spots that read fine on a thermometer’s tip but leave the rest of the liquid cold, which a strip will expose as an uneven color patch.
Pro Tip: Test any heat pad or warmer on a cup of tap water the night before your test. Time how long it takes to hit 100°F, then subtract two minutes from your real-world contact time. That margin is what keeps you out of the “too hot” zone collectors are trained to catch.
What’s the Physics Behind Each Warming Method?
Every method for holding a sample in range comes down to one tradeoff: how fast heat escapes versus how much control you have over the source adding it back. Understanding that tradeoff explains why some tactics that sound clever on forums fail in an exam room.
Body contact: slow, steady, and hard to detect
Skin runs around 92°F to 98°F depending on location, and the body’s job of maintaining that temperature makes it the most stable heat source available to you. Physicist logic backs this up: a warm liquid in a thin container loses heat through conduction and convection, and body contact provides a steady, physiologic source that’s far more even than an external heater. The inner thigh and the waistband against the lower abdomen both work well because they combine skin contact with clothing insulation. Fifteen to twenty minutes of contact typically raises a slightly cool sample by several degrees. The failure mode here is time, not heat. Wait too long between filling the container and the actual test, and even body heat can’t outpace a cold room.
Air-activated pads: convenient, but they overshoot
Chemical hand warmers activate on exposure to air and climb quickly, often past the 100°F ceiling within minutes. That overshoot is the whole problem. Warmers frequently exceed the acceptable range if left in direct, prolonged contact, and a strip reading 104°F draws exactly the kind of attention you’re trying to avoid. If you’re going to use one as a backup, tape it to the outside of an insulated sleeve rather than pressing it directly against the container, and pull it off well before your temperature check.
Electric warmers: good in theory, awkward in practice
Battery-powered warmers hold a set temperature more reliably than chemical pads, but they come with tradeoffs: a warm-up period of several minutes, limited battery run time, and a bulkier profile that’s harder to conceal under clothing. They work best when you have real lead time, like a home test kit you’re prepping an hour in advance, and less well when you’re minutes from an observed collection.
Microwaving: fast, but it ruins the sample’s consistency
Microwaves heat unevenly. The outer edge of the container might read 105°F while the core stays at 80°F, and once you stir or shake it to average things out, the whole sample starts cooling again immediately. A microwaved sample also cools faster than a body-warmed one because it never had the layered insulation that comes from being held against skin.
Insulated containers: not all wrapping is equal
| Insulation type | Heat retention over 20 minutes | Practical downside |
|---|---|---|
| Vacuum thermos | Strong, minimal drop | Bulky, hard to conceal |
| Neoprene sleeve | Moderate, gradual drop | Needs a pre-warmed sample to start |
| Layered cloth | Mild, steady drop | Least effective alone, best paired with body heat |
The same layering principle canning guides use to slow heat loss in glass jars applies here: double-wrapping a container reduces both conductive and convective losses, which is why a neoprene sleeve over a shirt pocket outperforms a bare cup in a coat pocket every time.
How Do You Monitor Urine Temperature Accurately?
Most standard collection cups come with a built-in adhesive strip along the side that changes color across a printed range, usually marked in the low 90s through 100°F. It’s not precise to the degree, but it’s the same tool the collector will use to verify your sample, so matching your check to theirs matters more than lab-grade accuracy.
- A built-in strip gives you a quick pass or fail signal but only shows a range, not an exact number.
- A digital instant-read thermometer gives you a precise figure, useful for testing warmers ahead of time, but it’s not what the collector reads during the official check.
- Uneven color patches on a strip, one section reading green and another reading orange, usually mean the sample wasn’t mixed evenly after warming, a classic sign of microwave reheating or an external heat pad applied unevenly.
- The collector’s read window is short. Programs typically expect a reading within about four minutes of you handing over the specimen, which is why aiming for 96°F to 98°F beforehand gives you a buffer against the normal one or two degrees of drift that happens during handoff.
- If the strip reads too hot at the moment of handoff, there’s little you can do except let it sit uncovered for a minute; too cold, and a few more minutes of body contact is your only real fix at that point.
Pro Tip: Practice reading a strip in different lighting before test day. Fluorescent bathroom lighting can wash out the color bands, making a borderline reading look worse or better than it actually is.
What Warming Mistakes Get Samples Flagged?
Collectors aren’t just glancing at a strip and moving on. Temperature is one data point among several, and the reasons certain shortcuts fail are baked into how validity testing works.
- Overheating is the most obvious tell. A strip that reads solid black or shows no color transition at all usually means the sample blew past 100°F, and a collector trained to spot this will flag it without hesitation.
- Labs don’t stop at temperature. Validity testing checks creatinine, pH, and specific gravity alongside temperature, so a perfectly warmed sample that’s chemically inconsistent with normal human urine still fails.
- Microwaving and open flames create uneven heat that leaves artifacts. A sample heated unevenly and then shaken to blend the temperature often separates again within minutes, and specific gravity readings can shift in ways a trained eye catches.
- Repeated reheating changes chemistry, not just temperature. Every heat and cool cycle accelerates bacterial activity and chemical breakdown, and urine left too long at room temperature or reheated multiple times starts showing signs that don’t match a fresh void.
- Chemical adulterants leave their own signature. Anything added to mask temperature or dilution issues typically shows up on the same panel that checks pH and specific gravity.
- If a sample comes back out of range, the standard response is observed recollection, not an automatic failure. DOT collection protocols call for a second specimen under direct observation when the first one fails temperature or validity checks, so staying calm and cooperative matters more than panicking over one bad reading.
The most useful thing you can do if a reading comes back borderline is nothing dramatic. Ask what the next step is, follow it, and avoid the temptation to argue or attempt a quick fix in the moment. Our guide on what to do and what not to do during collection covers this in more depth.
How Should You Prepare Hours Before a Urine Test?
Temperature problems are usually preparation problems in disguise. The tighter your timeline between producing a sample and handing it off, the less warming you need to do at all.
- Hydrate normally in the 24 hours before your test, but don’t overdo it right before. A sample that’s too dilute raises its own red flags on specific gravity, separate from anything temperature-related.
- Plan to provide your sample 30 to 90 minutes before your appointment if you’re using an at-home kit or need to travel. This window gives a fresh sample enough buffer to stay warm without needing aggressive intervention.
- Choose a pre-sealed clinical specimen cup with a built-in temperature strip whenever one is available. These are designed to hold heat reasonably well and give you a direct read without guessing.
- If you’re using a different container, pick one with double walls or an insulating sleeve rather than a thin single-use cup. Sealed, properly labeled containers transported upright hold their integrity better than anything loose in a bag.
- Pack the sealed container upright, taped if needed, inside an insulated sleeve, and keep it against your body during transport. Avoid setting it on a car seat or dashboard where temperature swings faster than you’d expect.
- If you can’t provide a sample immediately at the collection site, follow the collector’s protocol rather than improvising. Most sites allow a reasonable waiting period and offer water; refusing to cooperate or attempting a covert fix creates far more suspicion than simply asking for more time.
- If you have a documented shy bladder condition, ask about the clinic’s official extended-time or observed-recollection procedure in advance. This is a lawful, standard accommodation, not something you need to hide or work around.
Where Does Passusa Fit Into This Process?
Passusa offers products based on the Macujo Method aimed at helping people prepare for hair, urine, and saliva drug tests. Detox Experts, the team behind this guide, focuses on giving straightforward answers, which aligns with the approach this article takes on temperature.
Most of what Passusa sells lives outside the temperature question entirely. The Macujo Aloe Rid Shampoo system is built for hair follicle test, targeting toxin buildup in the hair shaft well before a test date, not sample warming on test day. There are synthetic urine kits that include built-in temperature strips, along with detox drinks and instructions intended to support urine screening preparation.
A few honest notes on where these products fit:
- Synthetic urine kits are intended for situations where their use is lawful and appropriate, and they’re not a substitute for understanding your specific test’s collection protocol.
- Any product with a built-in temperature strip still needs the same handling discipline covered above: body contact, insulation, and a check before handoff.
- Saliva and detox mouthwash products address a completely separate testing method and timeline, worth exploring separately if that’s the screening you’re facing.
- Following the collector’s stated policies always takes priority over any product feature, since procedural cooperation is what keeps a borderline situation from becoming a bigger one.
For readers focused on urine screening broadly, the pass urine drug test overview walks through the company’s full approach beyond just temperature.
What Actually Matters Most Here
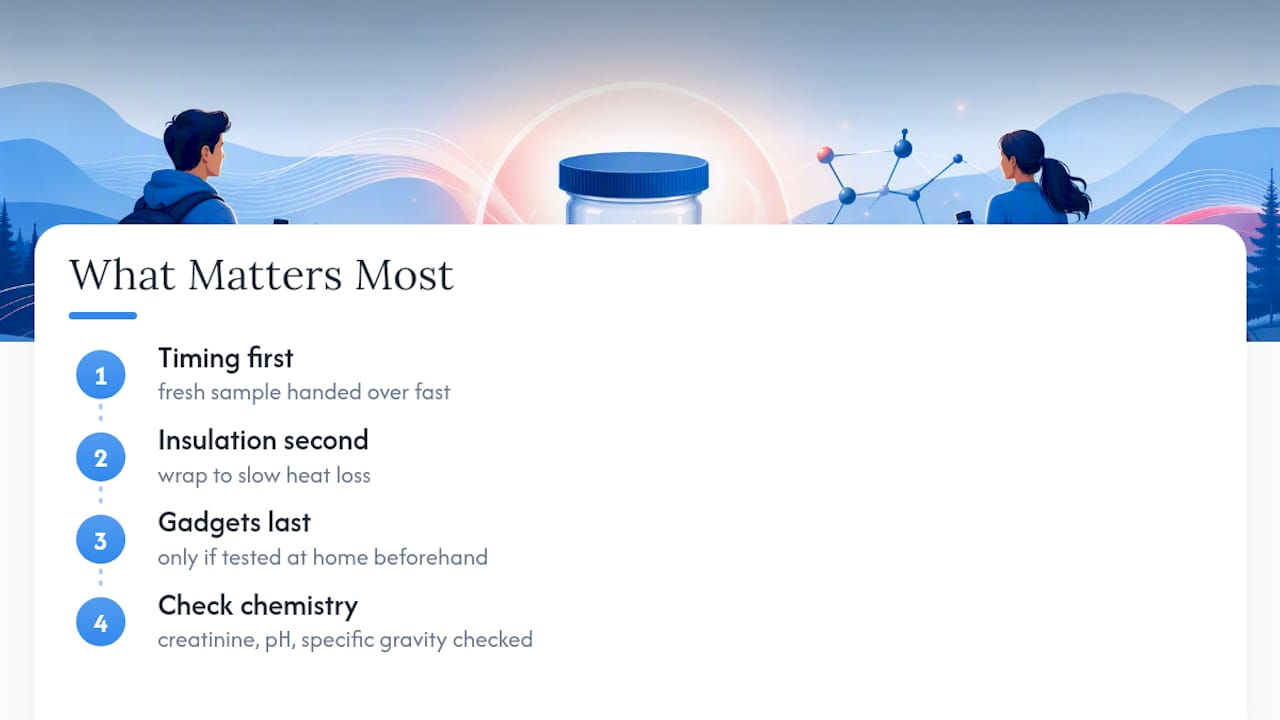
The conventional advice on this topic leans hard into gadgets: warmers, heating pads, elaborate wrapping schemes. That’s backwards. The physics favors simplicity. A fresh sample handed over fast beats any device, because nothing outperforms the body’s own steady heat.
Where most guides fall short is treating temperature as the only variable that matters. It isn’t. Creatinine, pH, and specific gravity all get checked alongside it, so a perfectly warmed sample with the wrong chemistry still fails. Prioritize timing first, insulation second, and gadgets only as a last resort you’ve already tested at home. If you’re relying on a product with a built-in strip, know how to read it before test day, not during it. The reader who treats this as a physics and timing problem, not a shopping problem, walks in with the better odds.
— Detox Experts
Ultra Pure Synthetic Urine Kit: Which One Fits Your Situation?
Synthetic urine kits with laboratory-grade formulas and built-in temperature guidance offer an option for those seeking a prepared product rather than homemade warming methods.
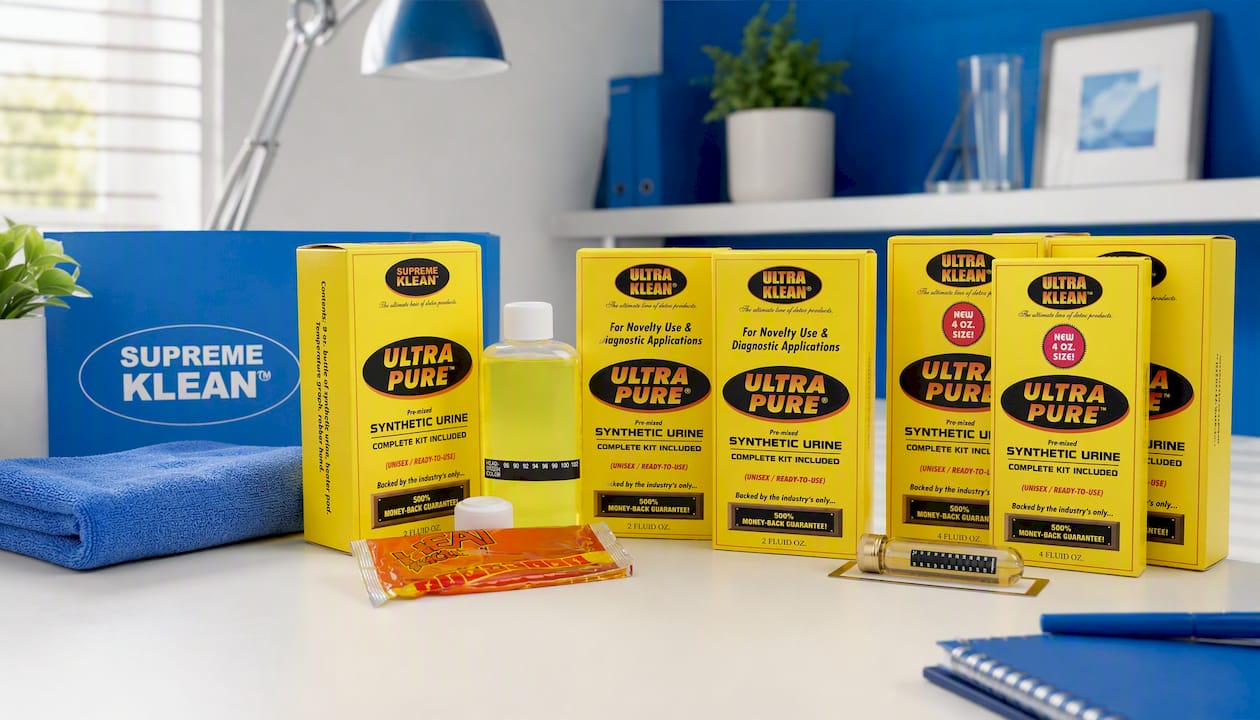
The Ultra Pure Synthetic Urine Kit – Laboratory Grade Formula is built for a single urgent need: one sealed vial, clear instructions, and a formula designed to hold up under standard validity checks when used appropriately. If you want a backup on hand or you’re supporting a friend through the same situation, the 2 oz Buy 2 Get 1 Free bundle stretches your money further without sacrificing the same lab-grade formula. Frequent testers, or anyone who wants a reliable supply on hand for repeat screenings, tend to reach for the Laboratory Grade Multi-Pack Bundle instead, since it’s built around volume rather than a single use.
Every SKU follows the same preparation logic covered throughout this guide: check your local rules, follow the collector’s stated protocol, and use these products only where lawful and appropriate. Browse the full synthetic urine product line to compare vial sizes and pick the option that matches your timeline before your next test date.
Where to Learn More About Specimen Collection Rules
- The DOT’s 49 CFR Part 40 lays out federal collection protocols, including chain-of-custody steps and what happens when a specimen fails validity checks.
- Johns Hopkins Medicine’s urine collection guidelines cover how long a sample stays stable at room temperature and when refrigeration becomes necessary.
- MedlinePlus’s urinalysis reference explains how storage conditions and delays can alter specimen chemistry in ways that affect test results.
- UPDRS specimen guidance from DLMP details the accepted temperature range and the validity markers labs check beyond heat alone.
Sources
- UPDRS (urine specimen temperature guidance) — DLMP
- 49 CFR Part 40 — DOT Office of Drug and Alcohol Policy and Compliance
- 24-hour urine collection guidelines — Johns Hopkins Medicine
- Urinalysis — MedlinePlus
FAQ
What temperature does urine have to be for a drug test?
Accepted testing programs generally require 90°F to 100°F at the time of the collector’s check, which typically happens within about four minutes of handoff.
How long is first morning urine good for in a cup?
A urine sample is best tested or refrigerated within a few hours of collection; beyond that window, bacterial growth and chemical changes start affecting accuracy.
What device can I use to keep urine warm for a drug test?
A sealed container held against the body with an insulated sleeve is the most reliable low-risk method; single-use air-activated warmers work as backup only if pre-tested, since they often exceed the acceptable range if left in prolonged contact. Passusa’s synthetic urine kits also ship with a built-in temperature strip for readers using that product appropriately.
How long until urine reaches room temperature?
A sample left uncovered in a typical indoor environment can drop several degrees within 10 to 15 minutes, which is why immediate handoff after collection matters more than any warming trick.
What happens if my urine sample is out of range at the test?
Most protocols call for an observed recollection under DOT guidelines rather than an automatic failure, so staying calm and following the collector’s next steps is the right response.